I’m sure if you are a pinner you have seen this super cute idea. Who knew curtain rods had so many other uses besides, well holding curtains. This is my inspiration pin: http://thelemondsfamily.blogspot.com/2012/02/this-is-my-inspiration-and-i-got-it.html, and it appears she got her inspiration from some where else but same idea.
I have been wanting something to do with the ugly, empty hall way wall since we moved in to this house 6 years ago. Here’s the wall before: 
Exciting right?
Let me start by saying that I don’t actually HAVE the pictures printed for the frames that I bought to do this project with yet, but hopefully by Monday I will!
So I started with this ugly old curtain rod that has been in my broom closet of all places for about 5 years. I don’t even know where it came from, it didn’t have the hangers for it and it was a hideous bronzey color.

Like my painting surface? The remnants of another project my husband has been working on. More on that another day…I painted the curtain rod satin black. I have found when spray painting, don’t buy the cheapest paint you can find because it really is one of those things that is worth the extra couple bucks. I only had to use one coat of this paint and now I have plenty for another project later on.

I didn’t do any prep on the curtain rod other than to clean five years worth of broom closet dust off of it and begin painting.
In the original pin I didn’t see anything on how to affix the rod to the wall so I made up my own. I purchased these “mug hooks” at Walmart for 97 cents. Only used two and have two more for later.

Also I didn’t see how the other pinner affixed the ribbon to her frames so I imagined this is how it must have been done: 
I used about 45 inches of ribbon, and made the ends pretty like this:
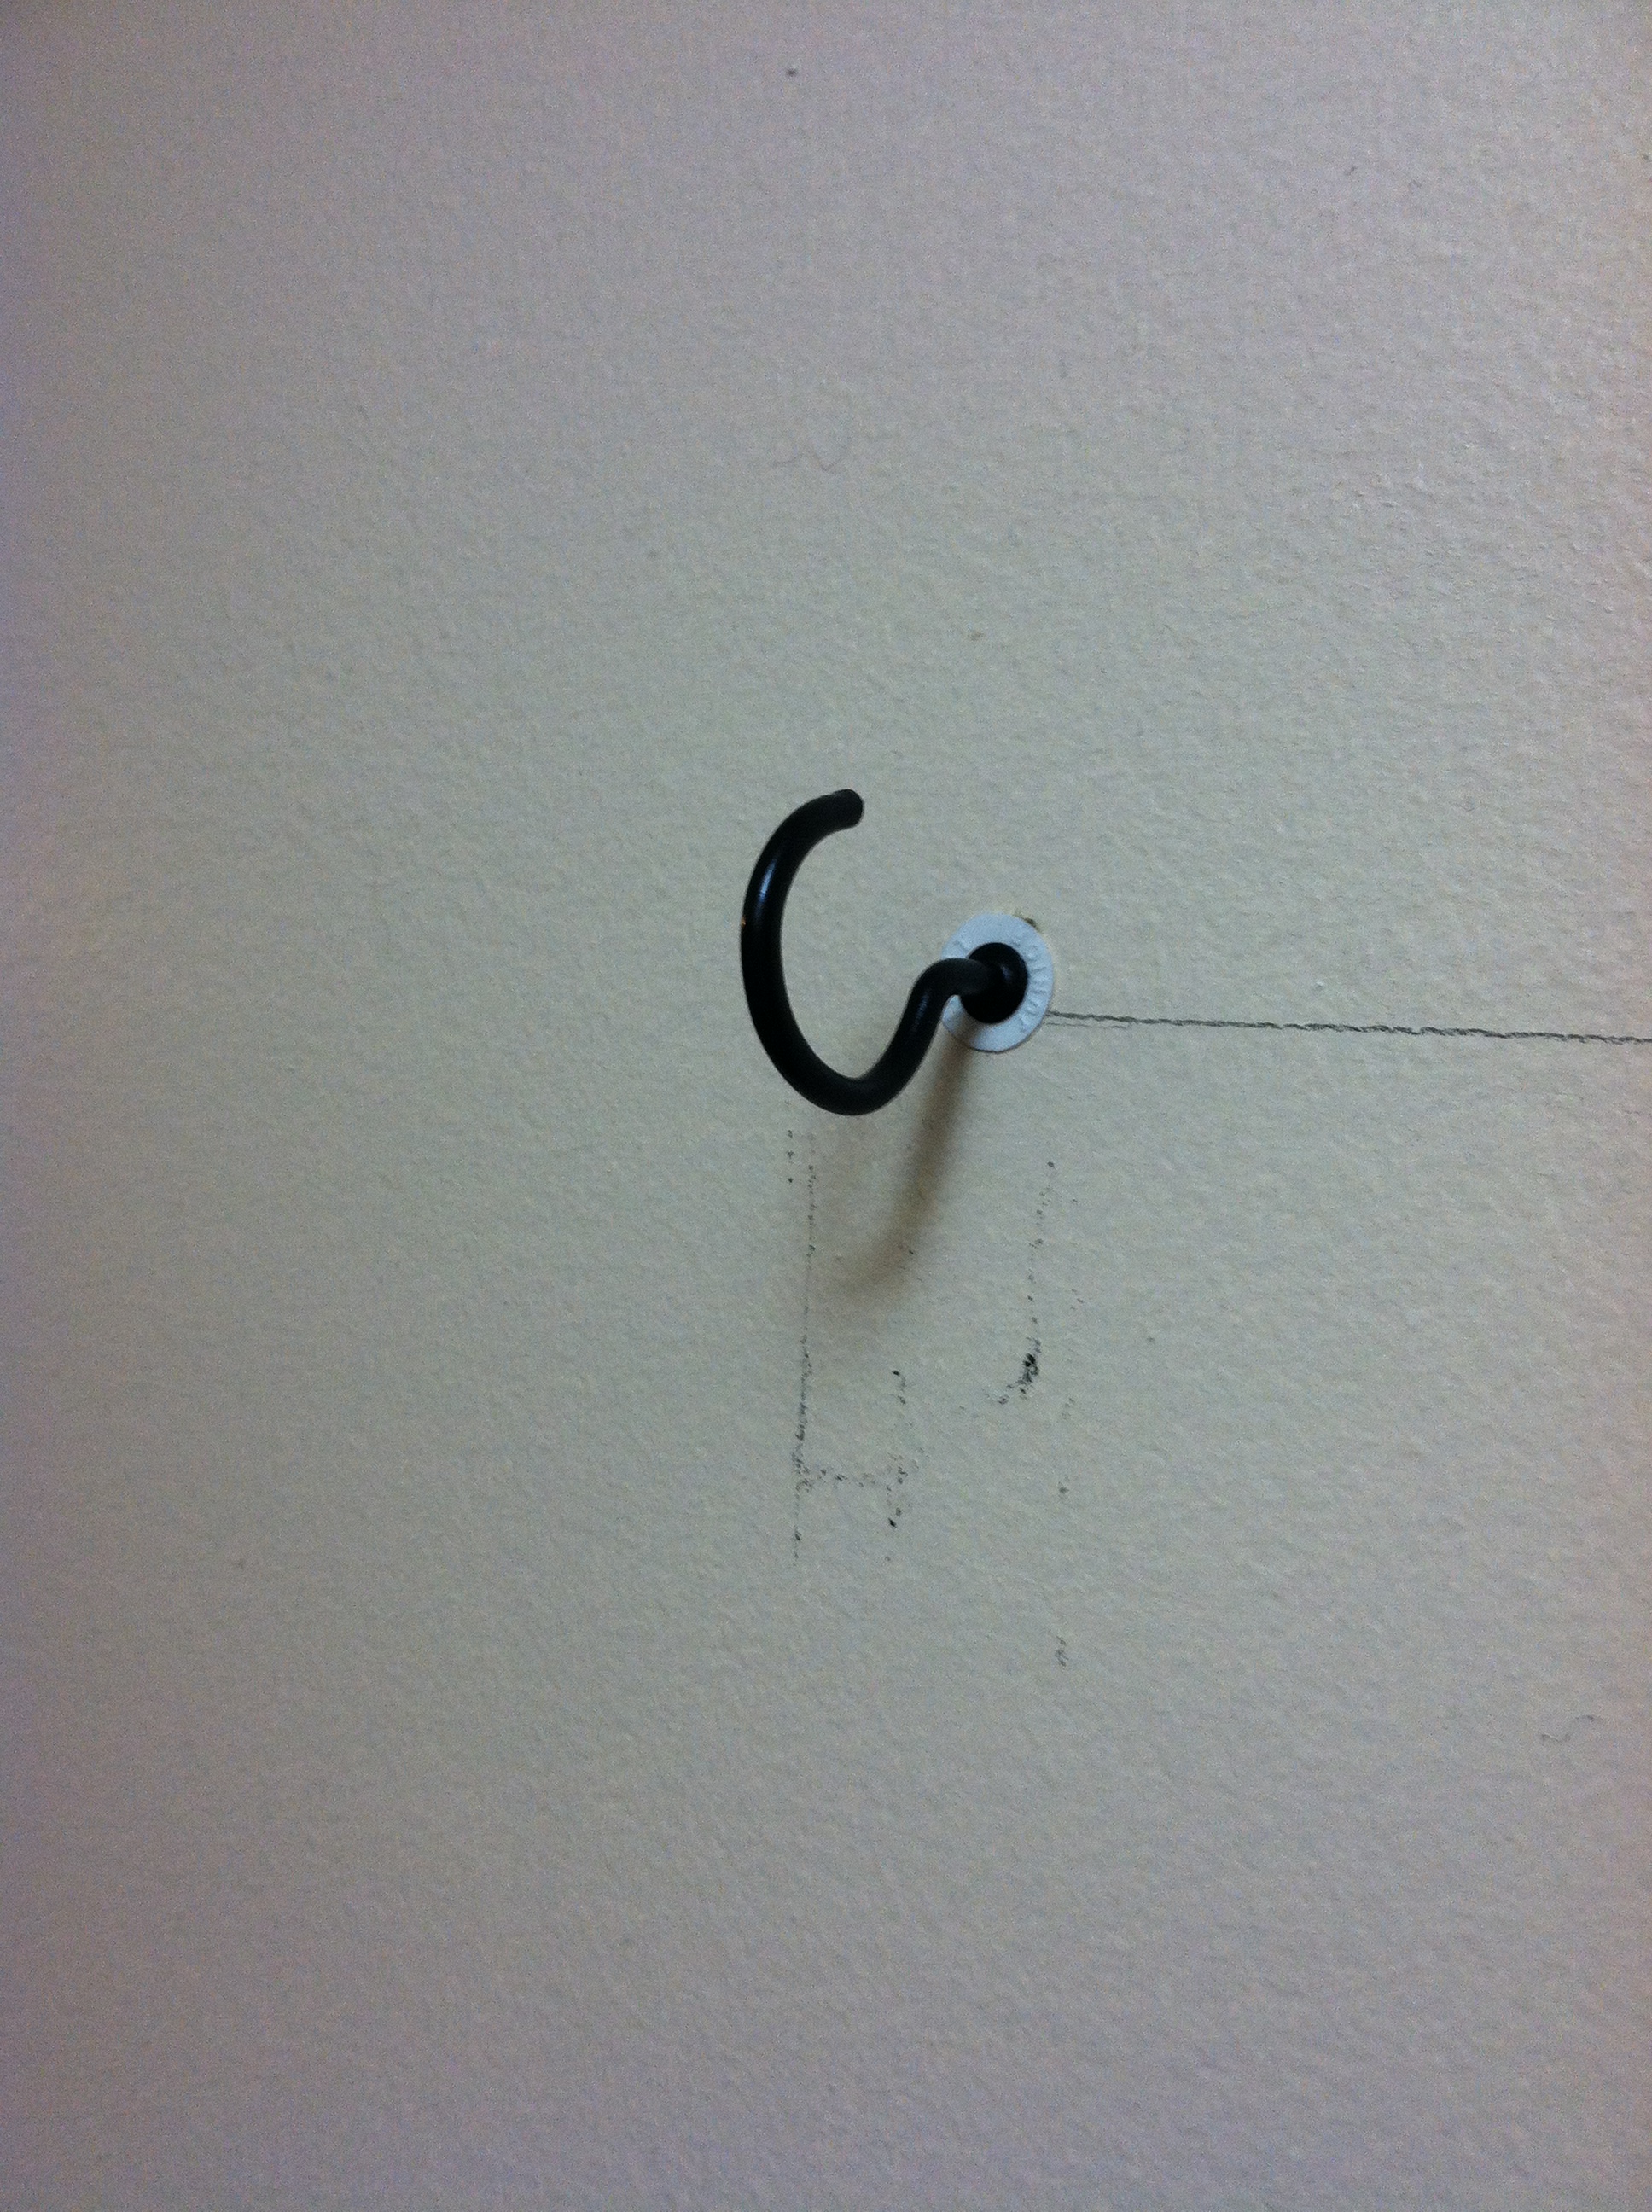
 Since I’m not allowed to touch the power tools in the house the hubs did the drilling, putting dry wall anchors in the wall and then screwing the hooks into those:

And…drum roll please…here is the finished product!!!!


I SO LOVE the way this turned out. The entire project cost me about $10. $3.47 for the paint, $2.50 for the ribbon on sale at Michael’s, and $3.00 for the frames at the dollar store. I chose inexpensive frames because they are light and I didn’t want too much weight on the rod without them being anchored into studs. It took me most of the day to complete because it was humid today (47% humidity according to weather bug, yes this is humid for Spokane) and it took a long time for the spray paint to dry. While I was waiting for it to dry I had time to do this:

Nothing better than crafting AND boozing : ) ENJOY!
